In a relatively recent version of Acumatica, the “External Applications” screen was added, adding in an easy way to connect to OAuth 2.0 Applications.
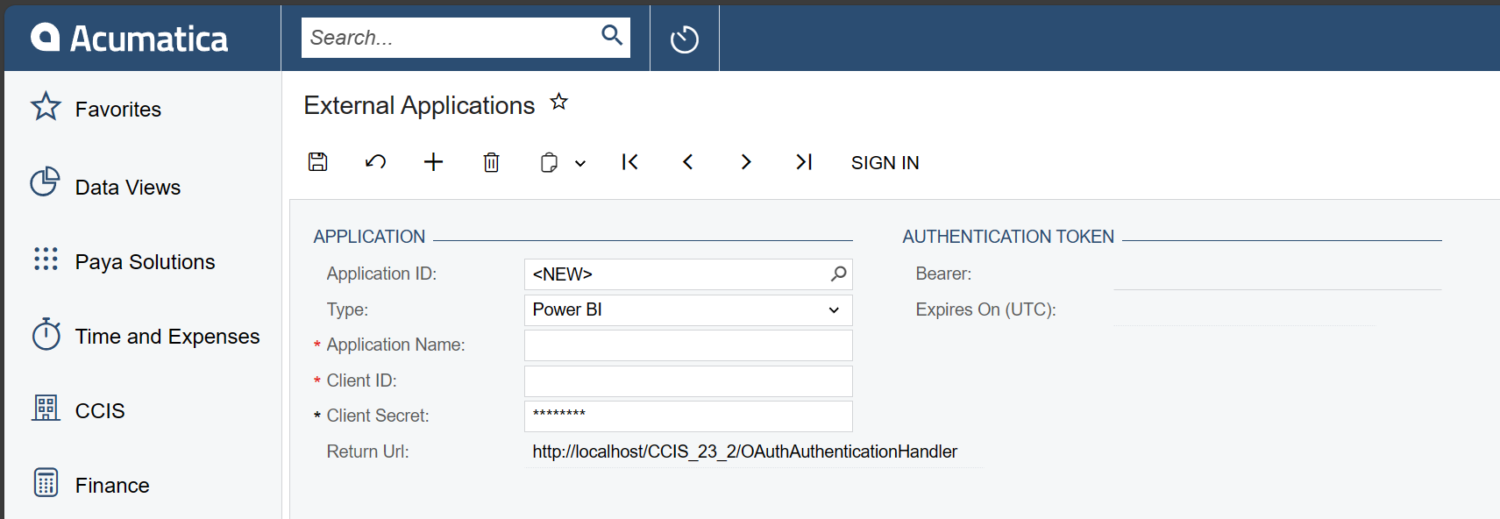
There is a relatively short list of “Types” of applications that can be used with this screen. But how would one perhaps add their own custom type to this drop-down list? In this blog post, I will show you how.
IExternalApplicationProcessor, the interface that defines the class that handles the OAuth Processing, implements two important fields, TypeCode, which corresponds with the drop down value in the “Type” field, and TypeName which is the label that corresponds with the drop down value.
Acumatica automatically detects all classes that implement this interface and injects them inside of the ExternalApplicationProcessorFactory, and makes them available for choosing in the Type dropdown and also makes them available for use.
Now with your new external application using your custom type, you can leverage the functionality by using the methods on ApplicationMaint. Unfortunately it seems like the ApplicationMaint graph does not automatically take into account whether the token is expired or not, since there are two methods, SignInWithoutRefresh, and RefreshAccessToken. Here are the method signatures
    [PXInternalUseOnly]
    public OAuthToken SignInWithoutRefresh(
      OAuthApplication oAuthApplication,
      OAuthToken existingToken = null)
    {
    }

    [PXInternalUseOnly]
    public void RefreshAccessToken(OAuthToken token, OAuthApplication oAuthApplication)
    {
    }
Of course, with these methods marked with [PXInternalUseOnly], don’t expect to get any certification by using them in your solution! But it might be very helpful to leverage this screen’s functionality in a one-off customization rather than manually managing authorization tokens and catching the redirect manually.