UPDATE : 2021R1 as implemented a suite of upgrades to Portal Customization and these tricks are no longer required
I just recently got asked to develop a series of modifications to the Acumatica self service portal (2019 R2). After a cursory glance I saw “oh there are customization projects that can be installed, this will be exactly the same as customizing the base version”, however there were a few things that tripped me up that maybe I can pass along and help you.
After a little trial and error, here are the steps I took to successfully adding a new page to the Self Service Portal: (If you already have an existing instance skip the first 3 steps)
1. Install Acumatica ERP normally
2. Setup the Admin password by using username: Admin and password: Setup
3. I cleared out the sales demo customizations just to be safe but this probably isn’t necessary
4. Install the portal using the Acumatica config tool, selecting the database that your main ERP instance is running on, but then choosing the “Create Portal” radio button (prev versions have a checkbox), I personally made a virtual directory under the main instances ERP site
5. Navigate to Administration=>Customization Projects and Add a new project, hit save and click on the link expecting the Customization browser to appear
6. Flip over your desk when it denies you access even when you are logged into ‘the almighty admin account’
7. Thanks to Kurt Bauer and Brendan Hennelly on stackoverflow for providing the following SQL Script that will solve this problem:
INSERT INTO dbo.PortalMap
(
CompanyID,
Position,
Title,
Description,
Url,
ScreenID,
CompanyMask,
NodeID,
ParentID,
CreatedByID,
CreatedByScreenID,
CreatedDateTime,
LastModifiedByID,
LastModifiedByScreenID,
LastModifiedDateTime,
RecordSourceID
)
SELECT CompanyID,
Position,
Title,
Description,
Url,
ScreenID,
CompanyMask,
NodeID,
ParentID,
CreatedByID,
CreatedByScreenID,
CreatedDateTime,
LastModifiedByID,
LastModifiedByScreenID,
LastModifiedDateTime,
RecordSourceID
FROM dbo.SiteMap
WHERE ScreenID = 'AU000000'
AND NOT EXISTS
(
SELECT *
FROM dbo.PortalMap
WHERE CompanyID = dbo.SiteMap.CompanyID
AND ScreenID = dbo.SiteMap.ScreenID
);
For your information: the ERP and Portal share the same database, but when it comes to their respective site maps, they use two different tables: ERP => SiteMap Portal => PortalMap. This will cause an additional problem that we will explore later.
8. Close all your browser windows, open up cmd and use the iisreset command to reset the application if you are installing this on a local development machine like me. Otherwise, reset the application in however other way you need to
9. Now the customization project browser opens normally!
10. Go to Pages=>New Page and you will see the familiar popup appear.
11. However after filling out the popup as normally and clicking ok, you will notice the page does not appear properly in the “Pages” grid
12. Just delete the blank record that appears, and delete the corresponding sitemap entry as well in the sitemap section
– From what I gather, the entire sitemap section in the customization project is mapped to writing things into the “SiteMap” table and doesn’t do anything to the PortalMap table. We will need to add things in manually. So this record in the grid does nothing for the portal. Additionally you cant manage the sitemap using the manage site map button here anyway, so really its better if we just pretend this whole section doesn’t exit.
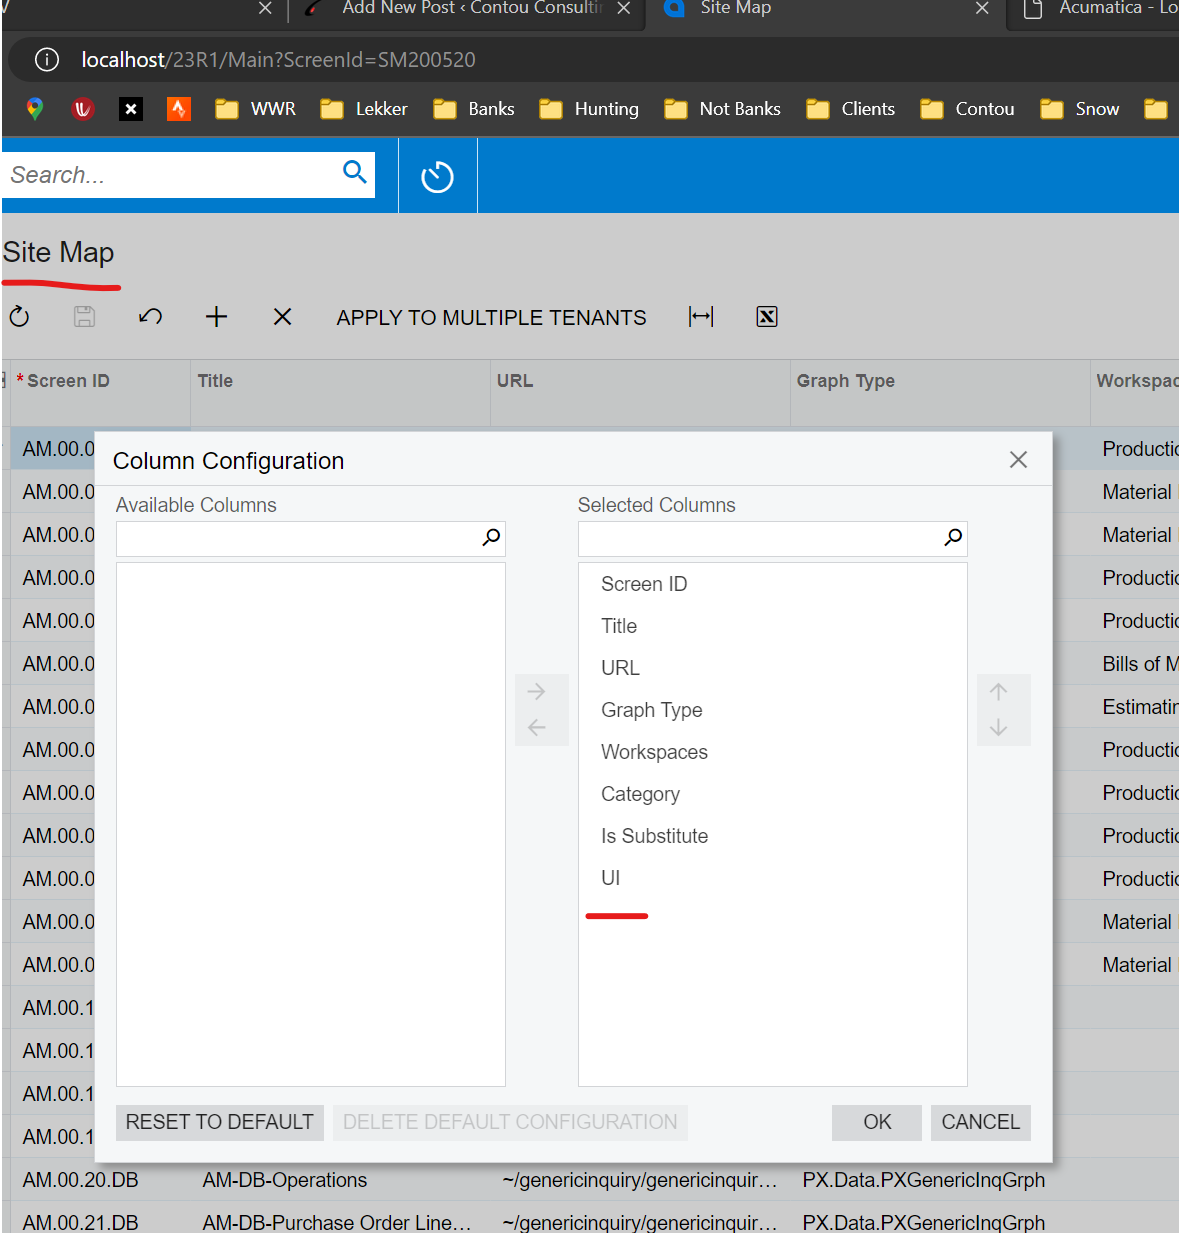
13. Go to Administration=>Portal Map and manually add your new page to the “Portal Map”
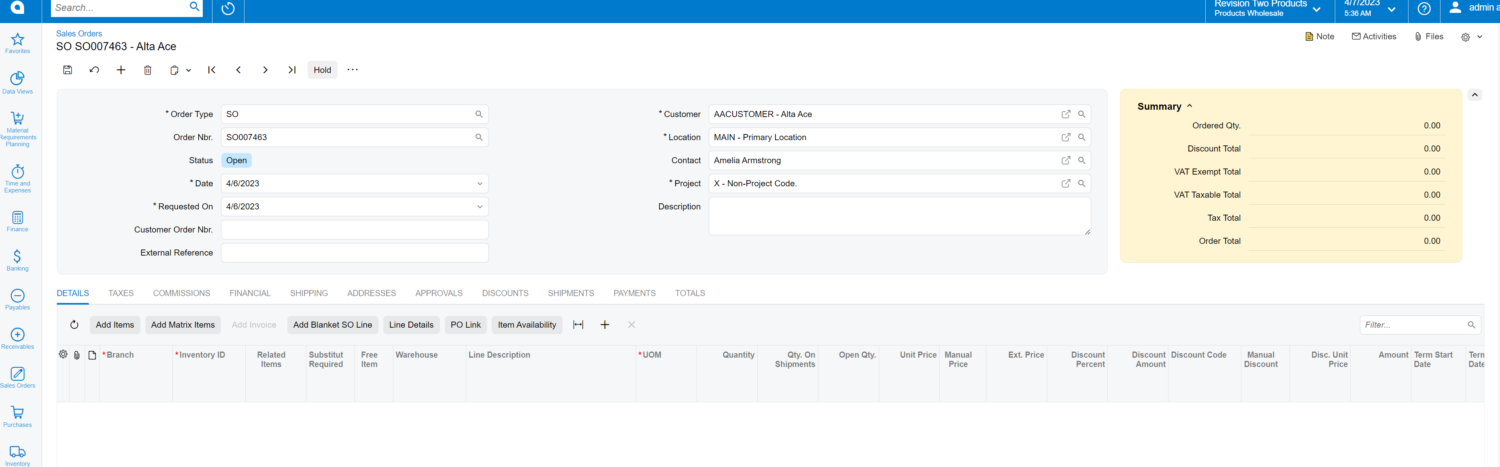
14. Now you can add the page normally to the Modern UI and it will work properly
Its highly likely that this is only the start of the wrinkles that one must face when customizing the portal, so I will continue to fill you in as I go along.